Pears are the awkward fruit of the British garden. Apples will hang on the tree until they are genuinely ready and then almost fall into your hand. Pears will not. Left too long, a Conference turns soft and grainy from the core outwards, and half the crop drops in a gale. Picked too early, it sits in the bowl for a fortnight, shrivels and never develops any perfume.
The answer is to catch pears in a fairly narrow window, then finish the job indoors. That window is wider than most growers think — but it is still a window, and it shifts with variety, region and weather.
Why Pears Are Picked Before They're Ripe
European pears ripen from the inside out. The core softens first while the flesh just under the skin is still firm, which means a pear that feels hard in your hand may already be ripe at its centre. The reverse is also true: a pear that has gone soft all over while still on the tree is usually past its best, with a brown, mushy core and a floury texture that no amount of careful handling will rescue.
So the practical approach is to pick pears when they are mature but firm, and let them complete ripening off the tree. Asian pears — nashi — are the exception. Those ripen on the tree, stay crisp, and should be left until they are fully coloured and easy to twist off. Treat them like apples, not like Conference.
Judging Ripeness on the Tree
The tilt test
Cup a pear in your palm, lift it until it is almost horizontal, and let the stalk make the decision. If it parts cleanly from the spur with the stem still attached, the fruit is ready. If you have to tug, leave it and try again in two or three days. Never pull straight down towards the ground — you will take the spur with it and lose next year's crop on that branch.
Colour, skin and scent
Green varieties lighten as they mature, shifting from a dark, dull green towards a paler yellow-green. Comice develops a yellowish flush around the neck; Williams' Bon Chrétien goes distinctly yellow. The skin loses its tight shine and starts to feel slightly waxy, and the small dots — lenticels — become more pronounced. A ripe pear also smells sweet at the stalk end. If you cannot detect anything, wait.
Seeds
Dark brown seeds indicate ripeness, but by that stage the fruit is often too far along for good storage. Use seed colour as confirmation, not as your trigger.
A Rough UK Picking Calendar
Dates move with rootstock, aspect, altitude and the summer we've had. Gardens in Scotland and northern England typically run two to three weeks behind the south coast. As a starting point:
- Beth, Williams' Bon Chrétien: late August to early September
- Beurré Hardy, early Conference: September
- Conference (main crop), Concorde, Packham's Triumph: late September into October
- Doyenné du Comice: October, occasionally into early November in mild areas
- Asian pears: late August to September, eaten crisp
Check the tree every second day once the first variety on your plot starts to loosen. Pears can go from "not yet" to "dropping" in under a week during warm, still weather.
Picking and Handling Without Bruising
Pick in the morning while the fruit is cool, using your palm rather than your fingertips. Keep the stem on, and place each pear into a padded trug or a shallow box — no more than two deep, with fruit not touching where you can manage it. Pears bruise invisibly, and the damage shows up three or four days later as soft brown patches that spread quickly in store.
Collect windfalls daily. Anything that has hit the ground will not keep, so use it for chutney, poaching or perry the same day.
Finishing Them Indoors: The Two-Stage Method
Pears need cool first, then warmth. Skipping the cool stage is the most common reason home-grown Conference and Comice ripen unevenly, with a soft neck and a hard, woody base.
- Sort. Discard any fruit with broken skin, bird damage or a soft patch. One rotting pear will taint a whole tray.
- Chill. Store in a single layer at roughly 0–5°C — a fridge, a cool shed or an unheated garage — for five to fourteen days. Later varieties benefit from the longer end of that range.
- Bring them out. Move the pears to a room at around 18–21°C, still in a single layer and out of direct sun.
- Test daily. Press gently with your thumb at the neck, just below the stalk. When it gives slightly, the pear is ready.
- Hold or eat. Once ripe, pears keep for three to five days in the fridge. Bring them back to room temperature before eating — cold dulls the flavour.
Speeding Up, Slowing Down
To hurry things along, put two or three pears in a paper bag with a ripe banana or apple. The ethylene they release will knock a day or two off the process. Never seal pears in a plastic bag: trapped moisture encourages rot long before it encourages ripening.
To slow everything down, keep them cold and check them often. A well-chilled, firm Conference will hold for several weeks if you inspect the tray every few days and remove anything softening.
Getting the Texture Right: A Short Checklist
- Test with the tilt test, not a squeeze.
- Pick firm and mature rather than soft and fully ripe.
- Handle like eggs, and never stack more than two deep.
- Give every pear a cool spell before ripening it in the warm.
- Check daily near the neck, where ripeness shows first.
- Eat them when the flesh yields, not when it collapses.
Get those steps right and you get the texture that shop-bought pears rarely manage: smooth, juicy and faintly perfumed, with no grittiness around the core. It is worth the fuss — and next season you will know exactly which week your tree expects you.
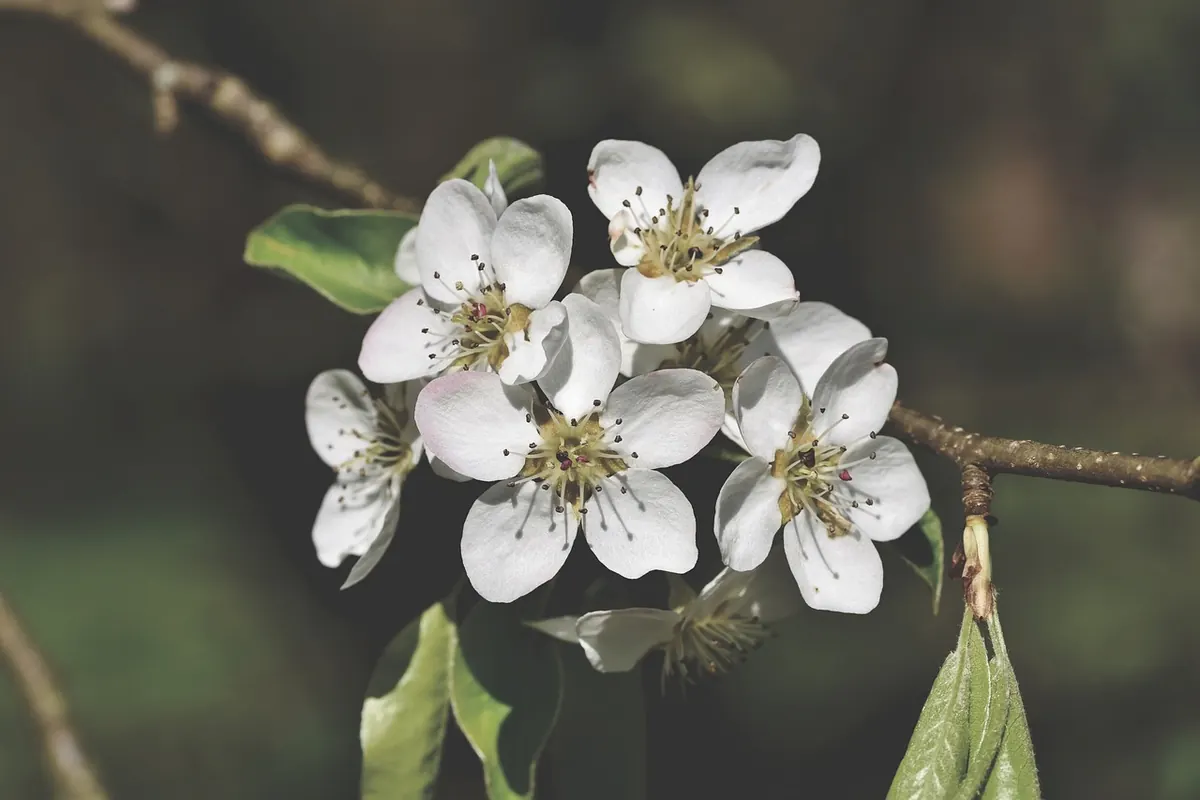
Photo: Ralphs_Fotos / Pixabay